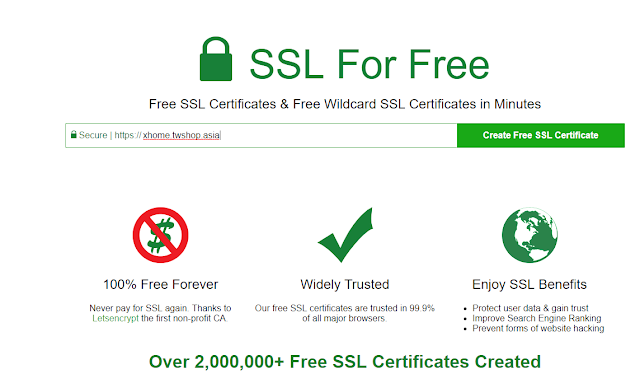
SSL全名為Secure Sockets Layer,
安全通訊層,
用來保持網路連線安全防止系統間傳遞的資料被讀取或修改,
若有安裝SSL憑證的網站,
其網址就會是 https://網站名
而今天的主題就是
在Apache上安裝SSL憑證
這裡以SSL for Free 及 Gandi 作為範例來介紹,
首先前往SSL for Free官網,
並在首頁填入要加入SSL的網域
官方提供了三種方法驗證網域的使用權,
選擇任何一種即可,
這裡是以DNS 紀錄作驗證
簡單的說,
只有三個步驟
按下Retry Manual Verification得到DNS新增TXT紀錄的資料,
到DNS控制台新增TXT紀錄,
下載免費SSL憑證
先到Gandi登入並選擇域名進入控制台
直接到區域檔紀錄進行更改
在右上角選擇新增紀錄
Gandi的話,
沒辦法設定TTL 為1秒
暫定以300秒作為設定
建立之後等待幾分鐘,
等待DNS更新完畢以後,
按下verify acme-challenge出現成功以後,
在點選底下的下載憑證,
就會產生三個檔案供SSL憑證安裝
接著到XAMPP的控制台設定Apache,
先設定httpd-conf
找到
VirtualHost *:80
DocumentRoot "\projects\www\xhome\"
ServerName xhome.twshop.asia
#設定http自動轉址為https
RewriteEngine On
RewriteRule ^/(.*)$ https://xhome.twshop.asia/$1 [R=301,L]
接著設定httpd-ssl-conf
Listen 443
確定監控443 port
找到自己的伺服器設定
VirtualHost *:443
# General setup for the virtual host
DocumentRoot "D:/projects/php/xampp/htdocs"
ServerName xhome.twshop.asia:443
ServerAdmin admin@mail
ErrorLog "D:/projects/php/xampp/apache/logs/error.log"
TransferLog "D:/projects/php/xampp/apache/logs/access.log"
# SSL Engine Switch:
# Enable/Disable SSL for this virtual host.
SSLEngine on
SSLCertificateFile "conf/ssl.crt/certificate.crt"
SSLCertificateKeyFile "conf/ssl.key/private.key"
SSLCertificateChainFile "conf/ssl.crt/ca_bundle.crt"
將底下三個設定,
改為上述在SSL for Free最後步驟下載的檔案
SSLCertificateFile "conf/ssl.crt/certificate.crt"
SSLCertificateKeyFile "conf/ssl.key/private.key"
SSLCertificateChainFile "conf/ssl.crt/ca_bundle.crt"
重新啟動apache,
網站就能以Https運行
當然,
免費的憑證有效期為三個月,
到期之後需要登入網站來renew的,


沒有留言:
張貼留言